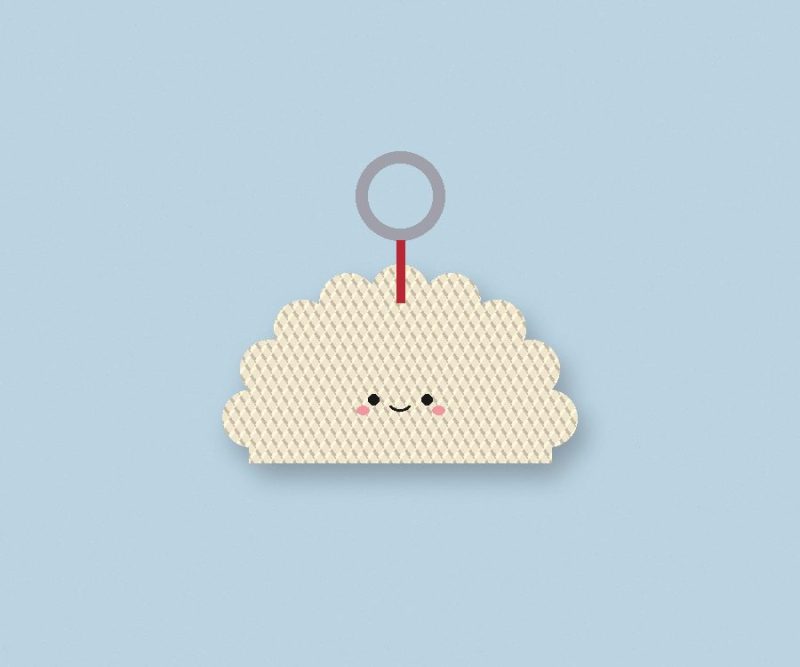
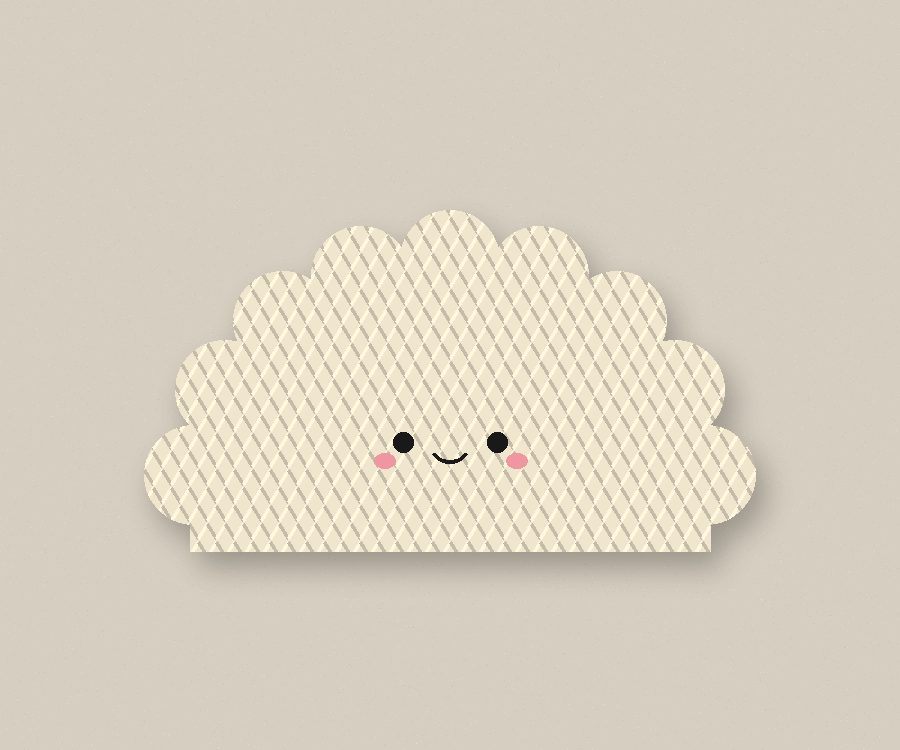
If you’re new to amigurumi, start here. You’ll learn the magic ring, even increases, closing two layers together and a simple scallop edge.
The photo is an illustration of the finished piece. Sizes and yarn amounts are estimates: your yarn, hook and tension will change the result, so check your counts after each round.
What you need
- Worsted cotton or acrylic in cream (about 30 m)
- 3.5 mm hook (smaller than the label)
- Black and pink yarn or 8 mm safety eyes
- Stuffing, stitch marker, tapestry needle
Finished size
About 12 cm wide and 6 cm tall.
Abbreviations (US terms)
ch = chain, sc = single crochet, hdc = half double crochet, dc = double crochet, sl st = slip stitch, inc = 2 sc in the same stitch, dec = invisible decrease (sc2tog through front loops), MR = magic ring, BLO = back loop only, FO = fasten off. The number in brackets is the stitch count at the end of the round or row.
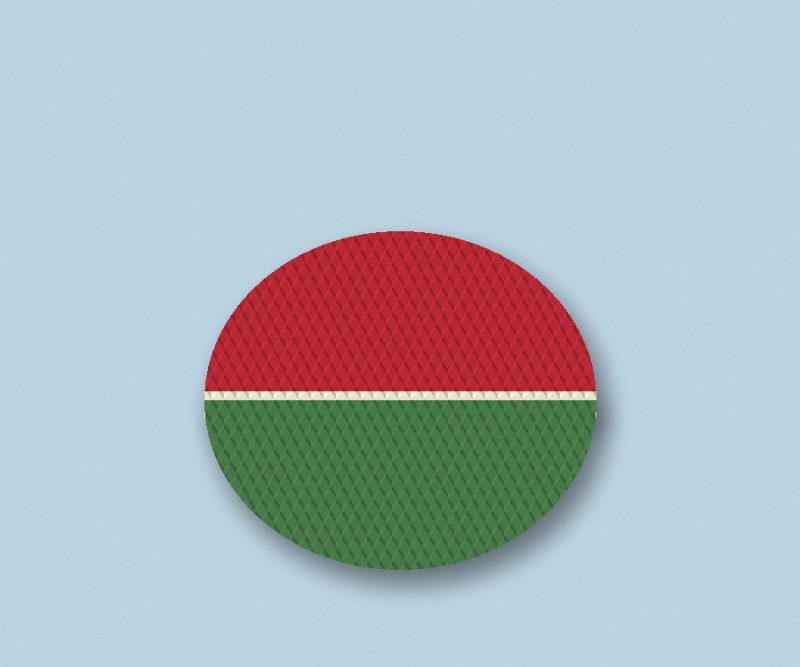
Body circle
- Rnd 1: 6 sc in MR (6).
- Rnd 2: inc x 6 (12).
- Rnd 3: (sc, inc) x 6 (18).
- Rnd 4: (2 sc, inc) x 6 (24).
- Rnd 5: (3 sc, inc) x 6 (30).
- Rnd 6: (4 sc, inc) x 6 (36).
- Rnd 7: (5 sc, inc) x 6 (42).
- Rnds 8–9: sc in each st (42). The edges start to cup.
Face and closing
- Place the eyes on one half, 4 rounds from the edge and 6 sts apart. Embroider a small smile and pink cheeks.
- Fold in half. Sc through both layers for 21 sts, stuffing as you go.
Scallop edge
Along the closed seam: (sk 1, 5 dc in next, sk 1, sl st) x 5. FO and hide the tail inside the body.
Safety: safety eyes and small parts are not suitable for children under 3. For a baby, embroider the eyes instead.
Tips
- Move the stitch marker up every round.
- Stuff a little at a time and shape with your fingers.